29) What is BYOD? How to implement it in D365 Finance and SCM
Intro
· BYOD (Bring Your Own Database) let administrators to export data entities from the application into their own Microsoft Azure SQL database.
· The BYOD feature lets administrators configure their own database, and then export one or more data entities that are available
· Allows following
o Define one or more SQL databases that you can export entity data into.
o Export either all the records (full push) or only the records that have changed or been deleted (incremental push).
o Use the rich scheduling capabilities of the batch framework to enable periodic exports.
o Access the entity database by using Transact-SQL (T-SQL), and even extend the database by adding more tables.
Entity store vs BYOD
· use entity store in case want only power bi reports
· Entity store is operational data warehouse and provide built in integration for D365 FO
· Ready-made reports and analytical workspaces use Entity store
However BYOD is recommended in following scenarios
- You must export you data into your own database
- When you require tools other than Power BI which will make use of T-SQL for accessing the data
- When you need to perform batch integration with other systems
Create Sql db using azure portal
- For Onebox server create in SSMS only (Should be only used for Dev and test) and make sure with proper naming and user id,pswd coz used in next entity export section.
- In case of production server you will need azure based SQL Database only
- If you're using the BYOD feature for integration with a business intelligence (BI) tool, you should consider using clustered columnstore indexes (CCIs). CCIs are in-memory indexes that improve the performance of read queries that are typical in analytical and reporting workloads.
Steps for configuring entity export
· Data management>>Configure entity export to database
· Select from db list ,if no db you can create it by clicking on new
Note: that you can export entities into multiple databases.
· Enter the connection string in the following format:
Data Source=<logical server name>,1433; Initial Catalog=<your DB name>; Integrated Security=False; User ID=<SQL user ID>; Password=<password>
In this connection string, the logical server name should resemble nnnn.databse.windows.net .You should be able to find the logical server name in Azure portal. The following illustration shows an example of a connection string.

· Click on validate and make sure connection is successful
o Create clustered column store indexes
§ Optimizes destination DB for selected queries by defining CCI for entities that are copied
§ But only supported by premium SQL DB therefore to enable this option you must create it
o Enable triggers in target database
§ sets export jobs to enable SQL triggers in the target database
§ Lets you look into orchestrate actions that must be started once record is inserted
§ One trigger is supported per one bulk insertion(determined by the Maximum insert commit size parameter in the Data management framework)
o Consistant data issue
§ Difficult to get cosistant data while sync is going on
§ To achieve this make sure reporting service is not getting data directly from staging table.Since staging table hold data while data is being synced hence data is changing
§ Use sql trigger to ensure syncing is done
o You can now publish one or more entities to the new database by selecting the Publish option on the menu.
The Publish page enables several scenarios:
§ Publish new entities to the database.
§ Delete previously published entities from the database. (For example, you might want to re-create the schema.)
§ Compare published entities with the entity schema. (For example, if new fields are added later, you can compare the fields with your database schema.)
§ Configure change tracking functionality that enables incremental updates of your data.
· Publish
o defines the entity database schema on the destination database
o When you select one or more entities, and then select the Publish option, a batch job is started.
· Drop entity
o deletes the data and the entity definition from the destination database.
· Compare source names
o compare the entity schema in the destination with the entity schema in the application.
used for version management.
used for version management.
o You can also use this option to remove any unwanted columns from the destination table.
· Configure change tracking
o feature that is provided in SQL Server and SQL Database
o enables the database to track changes including deletes that are made on tables.
o System uses this feature to track changes on table as transactions
o Since changes are at data entity levele additional logic on top of SQL change tracking
Change tracking includes following options
§ Enable primary table
- Select this option to track all changes that are made to the primary table of the entity.
§ Enable entire entity
-Select this option to track all changes to the entity. (These changes include changes to all the tables that make up the entity.)
§ Enable custom query
-This option lets a developer provide a custom query that the system runs to evaluate changes. This option is useful when you have a complex
requirement to track changes from only a selected set of fields
How to implement BYOD :-
BYOD for One Box System
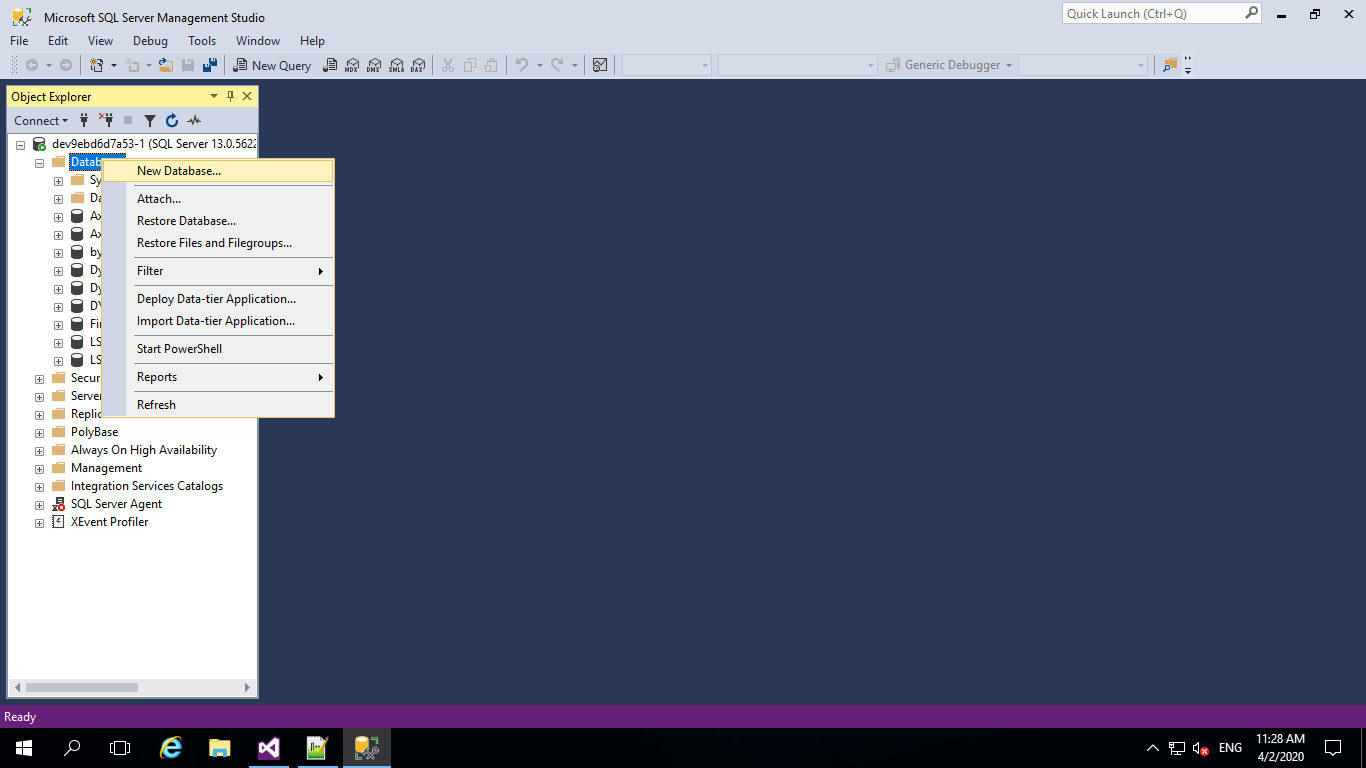
Create The Database in Onebox machine SSMS as follows and provide database name and size
For local VM databse you can find connection string from databse properties and make sure to copy owner of database


In Finance and operations environment navigate to workspace>>Data management>>Configure entity export to database

In the connection string field enter as follows
Data Source=<DbOwnerName.databse.windows.net>,1433; Initial Catalog=<your DB name>; Integrated Security=False; User ID=<SQL user ID>; Password=<password>

Now click on validate and make sure that tests completed successfully

Now click on publish button

Click on New button and select desired entities as showned
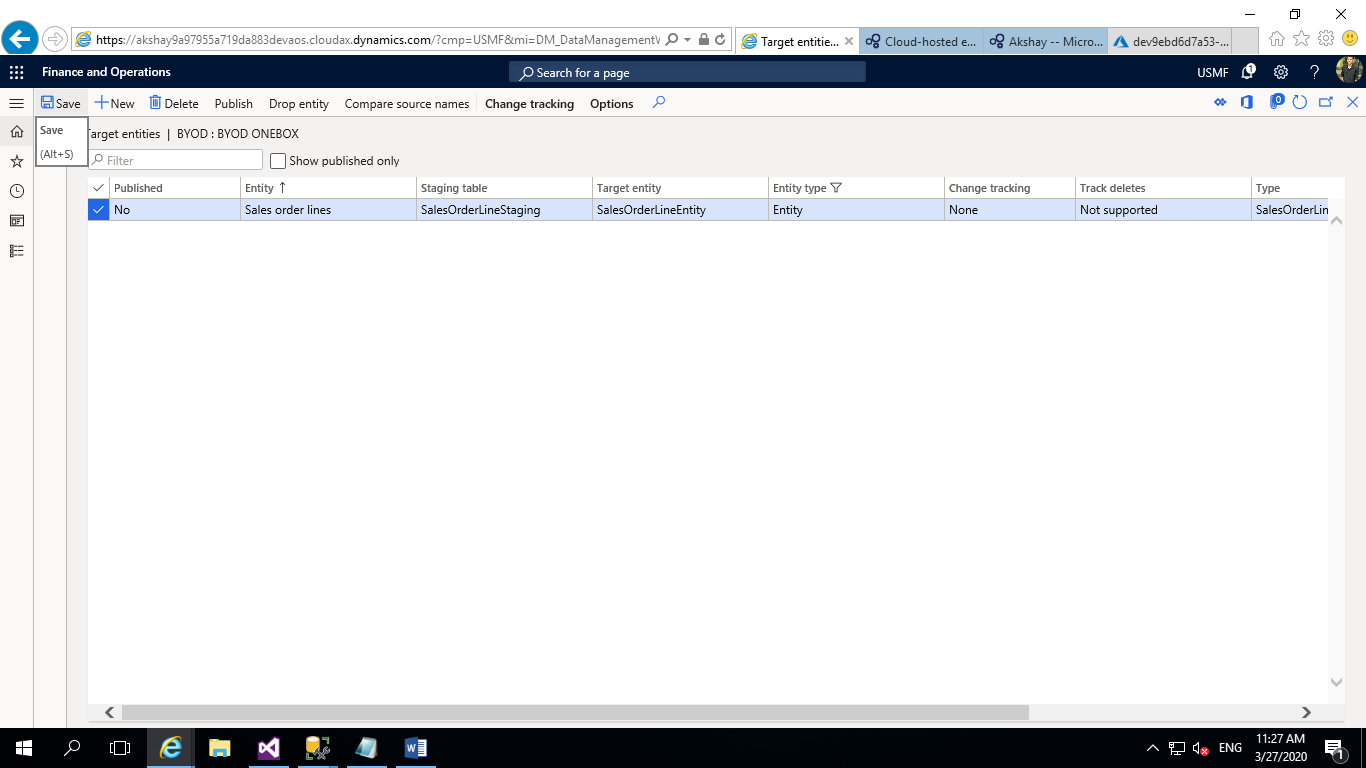
Then make sure the publish your entity.After publishing entities in this step table schema is created in target database(Local SSMS Database) as shown in following screenshots.after publishing it make sure it by notification as follows


Also there are options for change tracking which will help in case of incremental push in target.this option enables the database to track changes including deletes that are made on tables.

§ Enable primary table
- Select this option to track all changes that are made to the primary table of the entity.
§ Enable entire entity
-Select this option to track all changes to the entity. (These changes include changes to all the tables that make up the entity.)
§ Enable custom query
-This option lets a developer provide a custom query that the system runs to evaluate changes. This option is useful when you have a complex
requirement to track changes from only a selected set of fields

If change tracking is not enable you are not able to perform incremental push. After change management is enabled system displays this warning

Now navigate to workspace>>Data management>>Export
Mention group name,description, and other details and click on entity and select entity name and target data format as Target entity created previously(byod in our case) and select default refresh type
Note:-Even though change trakcing is enabled for entity,for first time you have to select full push only for first time

Now click on export button


Now you can check data in respective target tables

Here is the link for How Create Azure SQL database which will help you to create azure sql database.
Now there in server name in connection string you can copy from azure in overview of your database
|

Make sure that first time there should be only full push even though change tracking is enabled.
After performing export you can check for data by using ssms and providing your azure sql credentials.

After implementing BYOD you can use batch job to import data on daily basis or as you required.
I hope this blog will help you to understand BYOD and its working.Thank you!
After performing export you can check for data by using ssms and providing your azure sql credentials.


I hope this blog will help you to understand BYOD and its working.Thank you!

Comments
Post a Comment